When I set out to illustrate the Inconstant Moon serialization, I had some of the photographs at the outset, and I was able to stage others to make appropriate illustrations. Yet there were still gaps in the content, so I made use of some of the digital imaging techniques I’ve learned over the years.
Various filters are available in Photoshop and GIMP digital manipulation software, making some digital imaging a fairly simple matter. Artistic filters alter a photographic image to emulate various techniques used in painting, like Photoshop’s “Dry Brush” or GIMP’s “oilify.”
The Art Photos page shows some of the “arty” photographs I’d taken to stand in for some of Jake’s work; yet Jake is a photographic genius while I certainly am not. But the page also shows some of the simple digital imaging techniques I used to anonymise the photos.
Before I make use of photographs containing real people who happened to wander through my frame, if I have not got the subject’s permission, I feel it is necessary to anonymise the image. Sometimes filters can be used to anonymise a person, or fudge the taxi shots that I took in Toronto (which exists) instead of at Christie University (which does not).
Yet some of the illustrations that I wanted needed more substantial manipulation that an artistic filter or a smudge tool. If you’re interested in digital magic, you’ll find this interesting.
Chapter 92
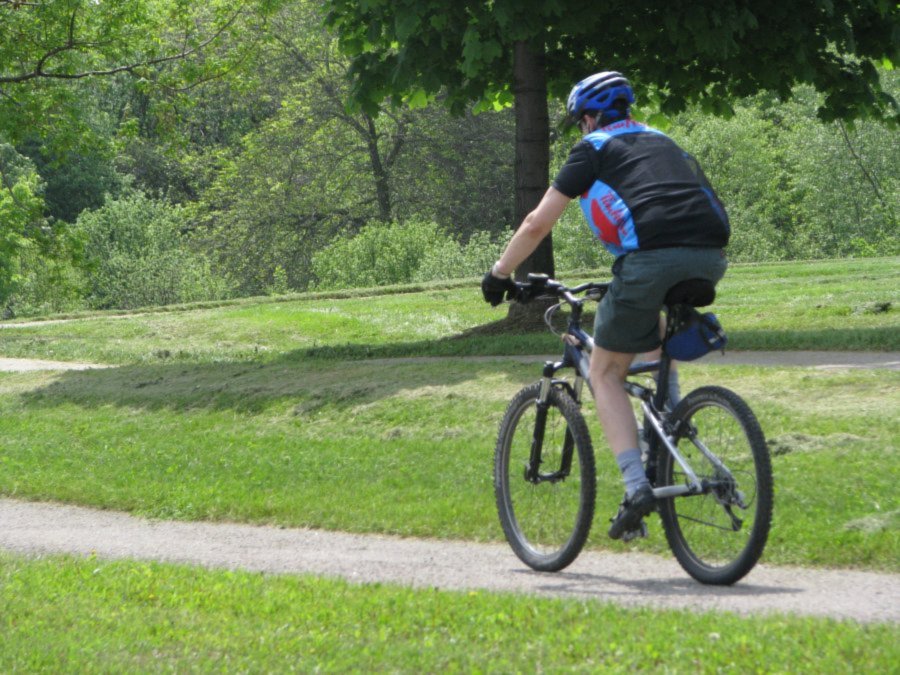
BEFORE:
One of the reasons I selected the above image was that the cyclist presents only his back to the camera as he bicycles away. That goes a long way toward making the man on the bicycle anonymous.
Digital Imaging Techniques Used:
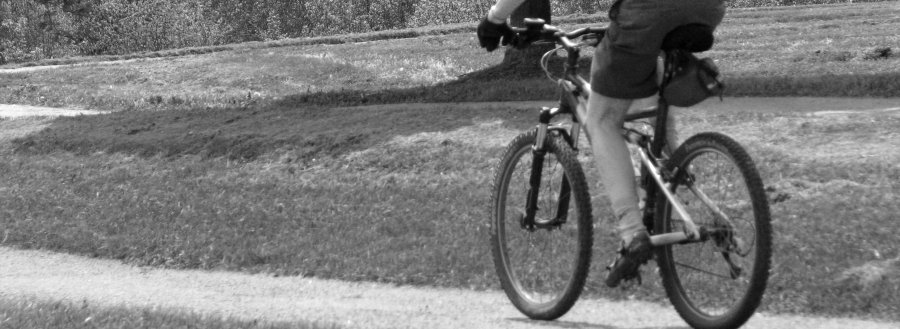
- Crop Cut the image to eliminate unwanted elements, apply focus, or make it best fit a particular space.
- Desaturate or remove all the colour from an image.
AFTER:
Chapter 43
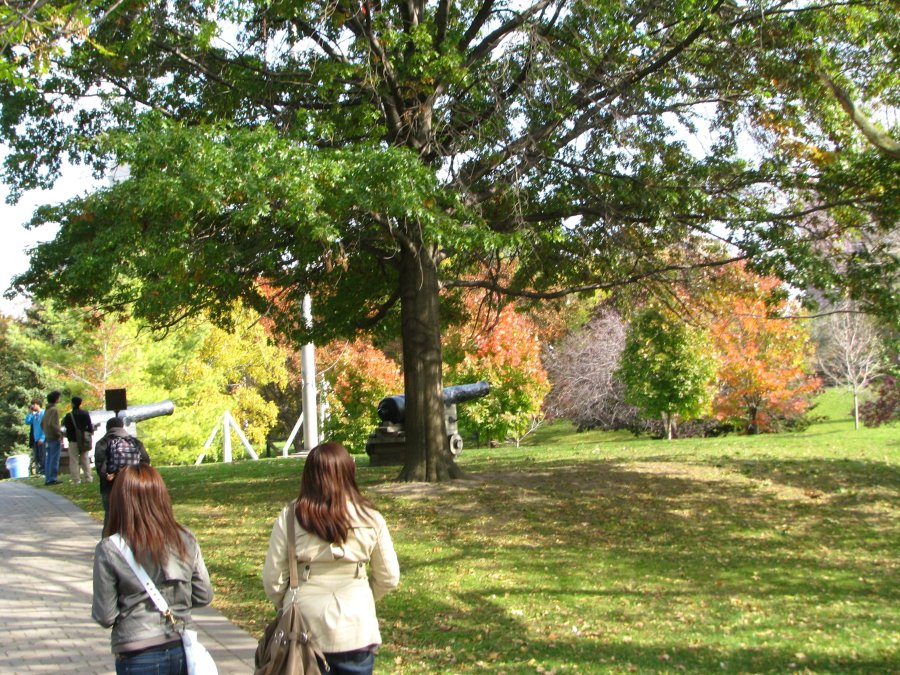
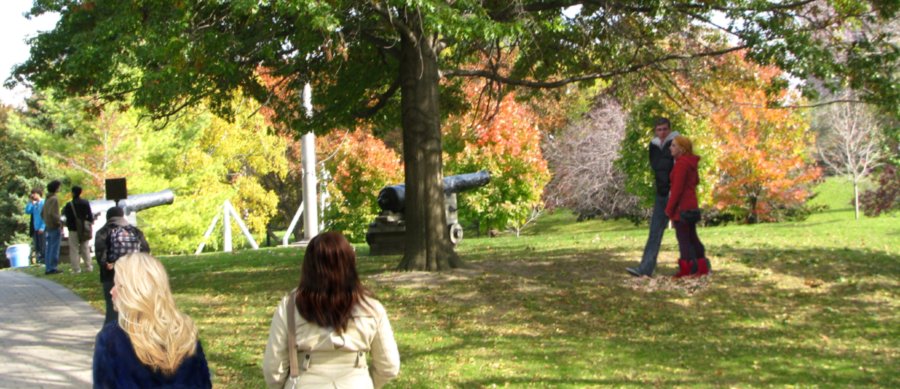
… is one of the busiest chapters. Since Christie University doesn’t actually exist, I used photo from various university campuses in my chapter illustrations. This one was taken at the University of Toronto.
BEFORE:
What I wanted was to show Barbie and Tamara hurrying across the Christie oval (bottom left), while Boris and Natasha have their big argument off under the trees (to the right).
AFTER:
Digital Imaging Techniques Used:
- Magic: Barbie, Boris and Natasha were all cut out of other photographs I’ve taken and pasted here. Since they are real people, I’ve taken steps to alter features, hair, clothing etc.
Chapter 22
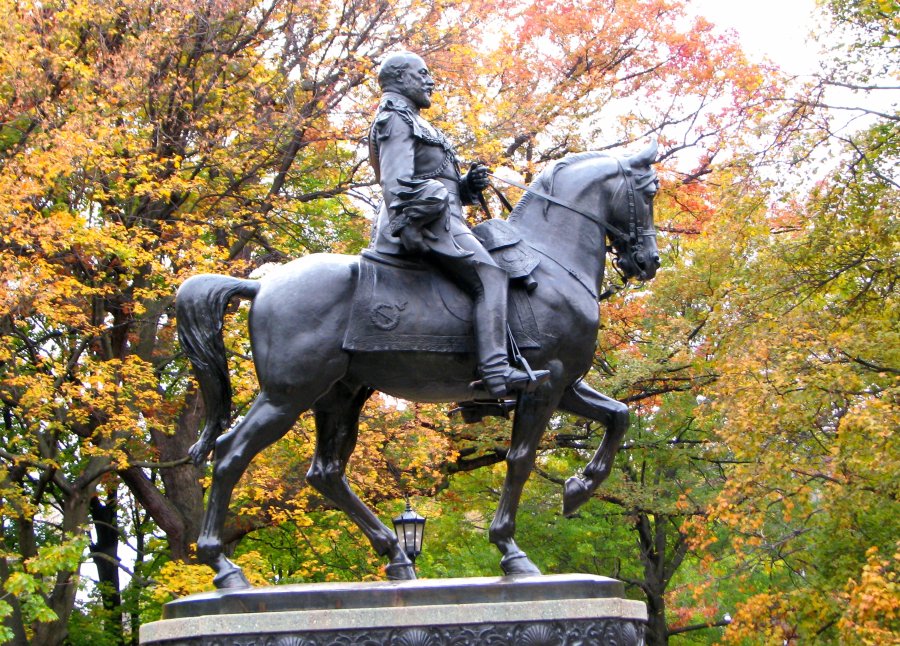
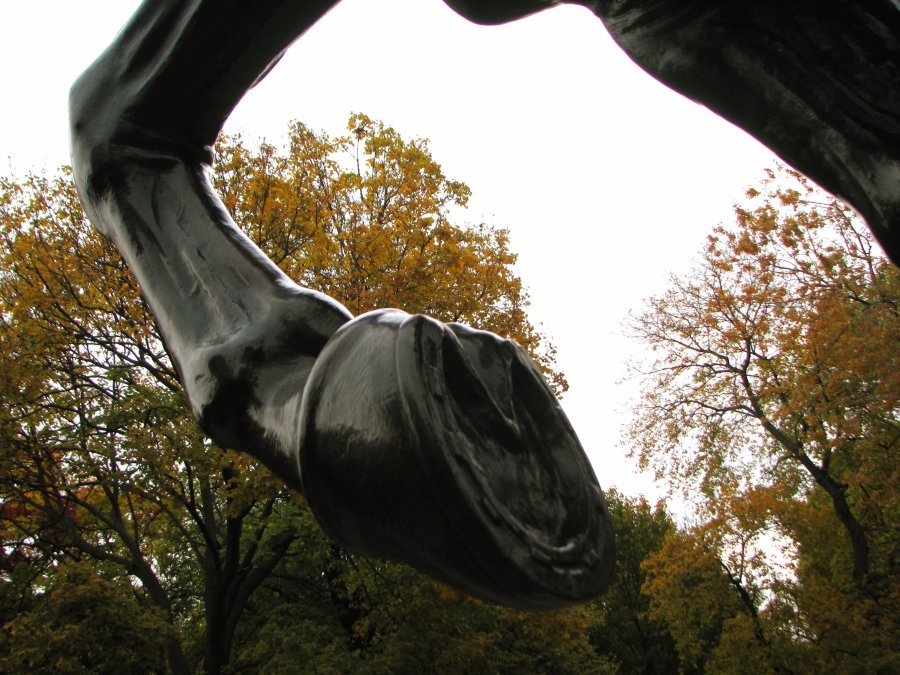
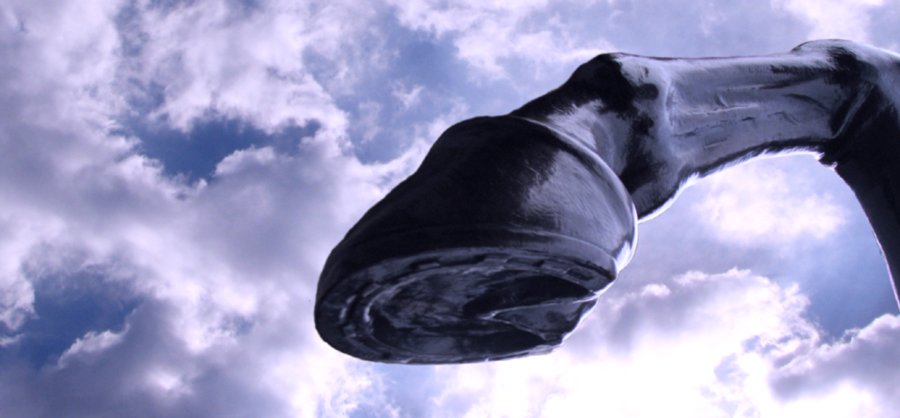
The Christie oval features a rearing horse sculpture that Natasha scales in Chapter 22, but I have no idea where I might photograph such a statue. So I made do with what I had: King Edward VII in Queen’s Park.
BEFORE:
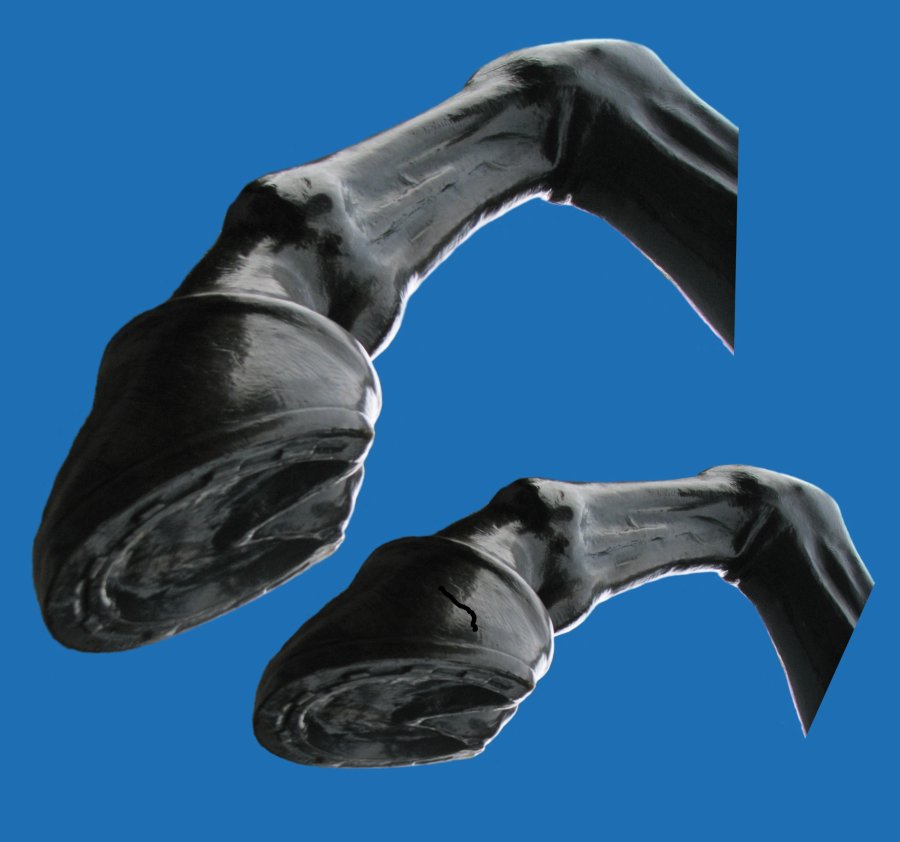
Of course, this is a hoof that is walking, not rearing up, so it was necessary to reorient it . . .
… so it seemed worthwhile to try this:
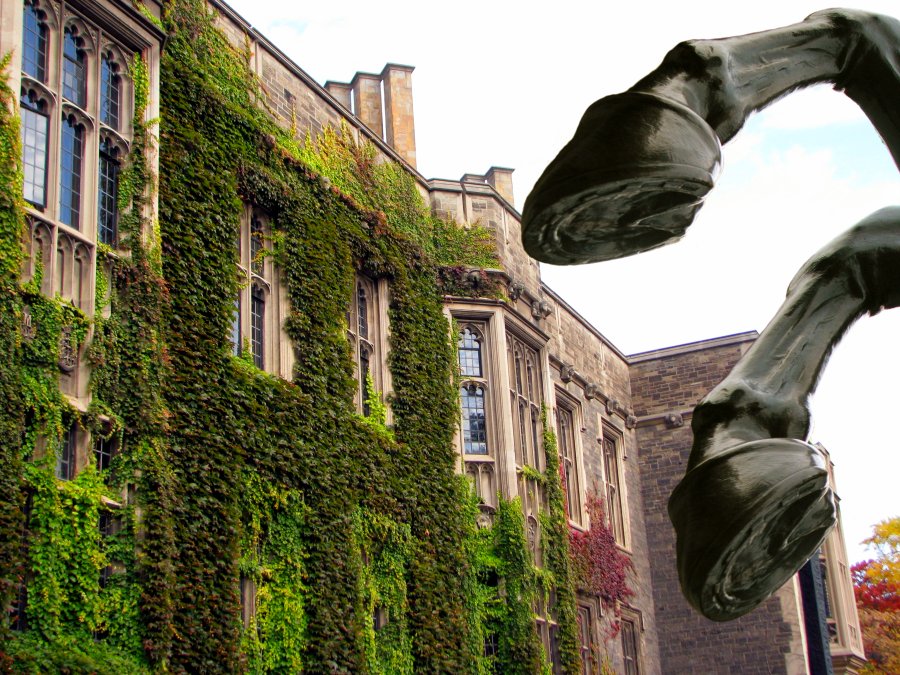
In order to make this image better, I would need to work my digital magic to change the way the light reflects on the second hoof… and even then, I don’t believe that it would make the image perfect, because the biggest problem is that the horse legs I’m working with aren’t quite long enough to make this work. Oh well.
Time for “Plan B” crop the sky, harmonize the colours and — Ta da!
AFTER:
This subject will probably stretch to additional feature pages, which is why I’ve assigned this page a number.
Leave a Reply